How it arrives and installs.
What to expect when zellige reaches you, and what to agree with your installer before the first piece is set.
How zellige arrives.
Zellige can reach you in three forms, and you choose one for each surface on the product page. Loose cut tiles are usually packed by glaze and shape, for a setter to lay piece by piece. Rigid panels are assembled face down in the workshop, pieces placed glaze-side down to the drawing, then backed with plaster or mortar so the panel travels as one; panel sizes are confirmed for each design. Flexible panels hold the pieces on a mesh backing. Your project brief PDF, with the composition, glazes, quantities and supply format, travels with the order, together with a measured piece schedule where your design has one.
- Loose cut tilesSorted by glaze and shape; set piece by piece on site.
- Rigid panelsAssembled face down and backed with plaster or mortar; sizes confirmed per design.
- Flexible panelsPieces held on a mesh backing, set in sections.

When the delivery arrives.
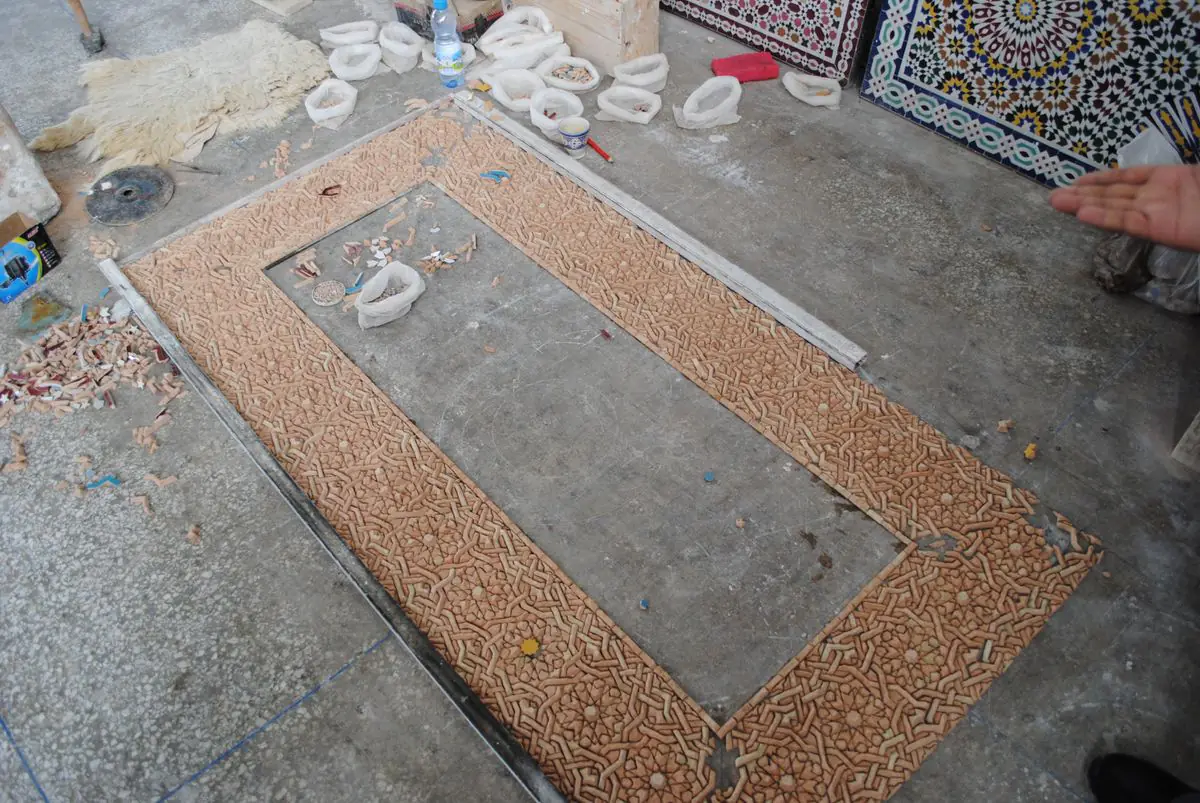
Open the delivery somewhere dry and level, and check it before any work begins. Compare each crate and its count against the piece schedule or brief, keep pieces grouped by glaze, and set the cutting allowance aside rather than mixing it into the field. If anything is broken or missing, photograph the crate, the packing and the pieces, and tell us promptly so it can be raised with the maker and the carrier. Expect variation: hand-cut, hand-glazed clay differs from piece to piece and between firings. That is the material, not a fault, and blending pieces from several boxes as you set spreads it evenly across the wall.
- Count crates and pieces against the schedule.
- Keep pieces sorted by glaze and shape.
- Hold back the cutting allowance.
- Photograph any damage and report it promptly.
The wall or floor.
Zellige shows whatever lies beneath it, so the substrate comes first. It should be sound, flat, dry and clean, with loose paint or render removed. In wet areas, cement board or a sand-and-cement render is the usual base, and a shower needs its waterproofing membrane in place before any tile is set. Leave movement joints at the perimeter, at changes of material and wherever your installer advises. Zellige is most often used on walls and on floors with light foot traffic. For floors, exterior walls, pools and surfaces near heat, ask your installer and the maker to confirm that the specific tile suits the use before you order.
- A sound, flat, dry and clean substrate.
- Cement board or render in wet areas.
- Waterproofing in place before tiling a shower.
- Movement joints at perimeters and changes of material.
Setting.
Zellige is best set by an experienced tile setter, ideally one who has worked with handmade tile. A thin bed of white polymer-modified adhesive is usual, so that nothing darkens a pale glaze from behind. Loose tiles are set tight, following the drawing in the brief. Panels are dry-laid first so the repeat can be checked, then set one at a time with the pattern aligned across each join; edge pieces are cut with a wet saw. Handmade pieces vary in thickness, so the setter back-butters the thinner ones to bring every face level.
- Dry-lay panels and check the repeat.
- Set panel by panel, aligning the pattern.
- Cut edge pieces with a wet saw.
- Back-butter pieces that vary in thickness.

Joints and grout.
Traditional zellige is laid tight, with joints as narrow as the pieces allow; the irregular edges make the rhythm, not a wide grout line. Use an unsanded or fine grout, which fills narrow joints without scratching the glaze, in the tone you chose on the product page. Work in small areas, keep the glazed faces protected and as clean as you can, and wipe the haze away with a damp sponge before it hardens. Your installer may suggest a grout release or other preparation for the products in use; follow their advice.
Sealing and care.
The glaze is impervious, but the clay body at the cut edges and the grout joints are not. Where water is present, in a shower or behind a basin, a penetrating sealer on the joints helps them resist staining; your installer will advise on the product and how often to renew it. For everyday cleaning, warm water, a neutral pH cleaner and a soft cloth are enough. Avoid acids and abrasive pads or powders, which can etch the grout and scratch the glaze. Test any new product on a discreet area first.
More questions on materials and careWhat we provide, and what to confirm.
The studio prepares your project brief PDF, with the composition, glazes, quantities and supply format, and a measured piece schedule where your design has one. Glaze samples come before any commitment, so you can judge color and variation in your own light. Then we talk through lead time and price. On your side, confirm three things before ordering: who will install, that the substrate will be ready, and how the delivery will reach the room, including access, stairs and somewhere dry to keep the crates.
From the studio
- The project brief PDF.
- A piece schedule, where your design has one.
- Glaze samples before you commit.
- A conversation about lead time and price.
To confirm on your side
- Your installer.
- The substrate and any waterproofing.
- The delivery route and storage.
Every order begins with a conversation.
We confirm availability, lead time and price before anything is charged.